Newsletter Subscribe
Enter your email address below and subscribe to our newsletter

The latest technology updates & more!


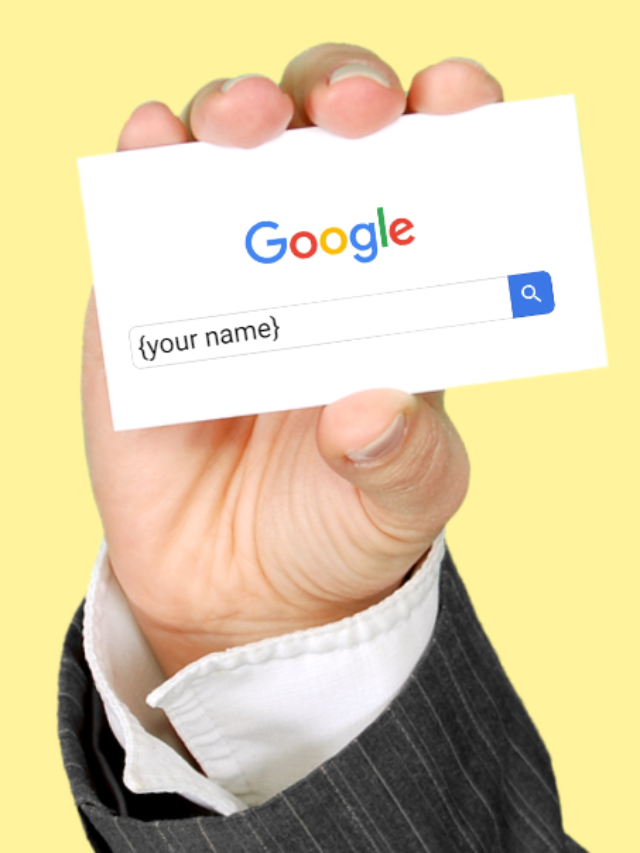
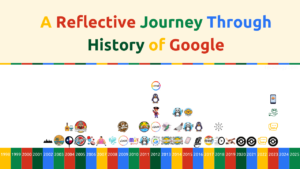
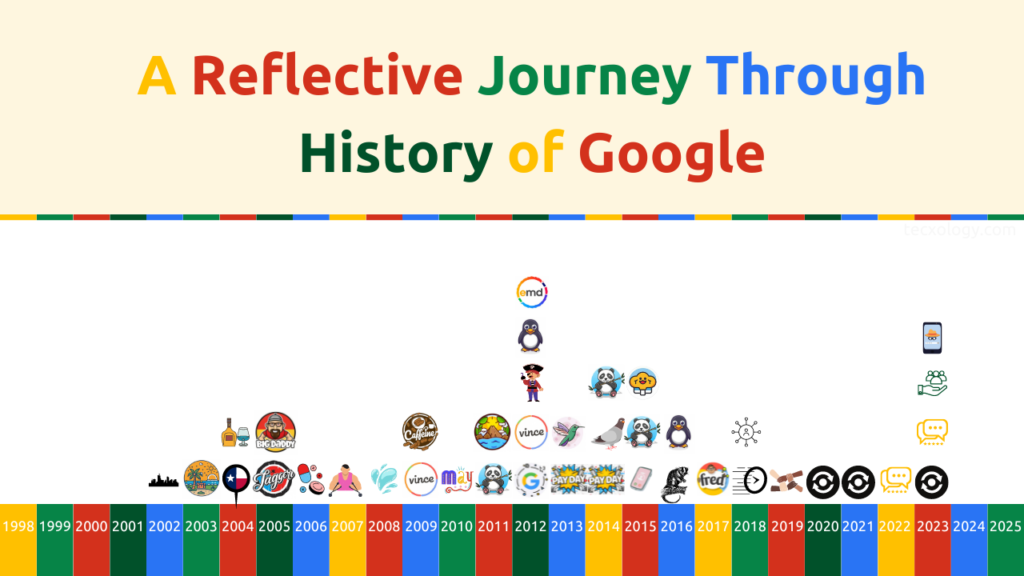
1998! This was the year when the digital landscape was just beginning…
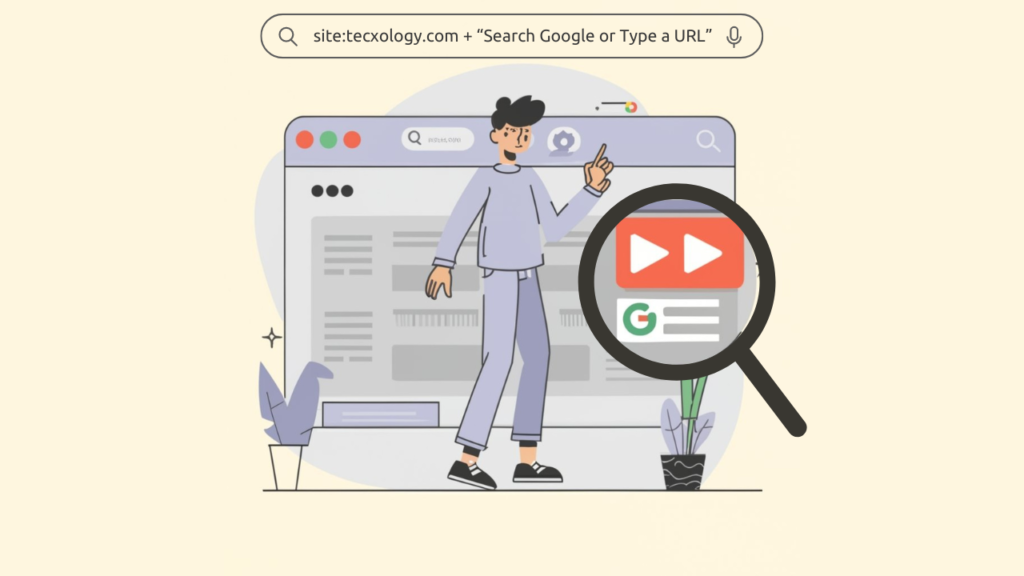
You go to Google, search for something, get the results, and come…
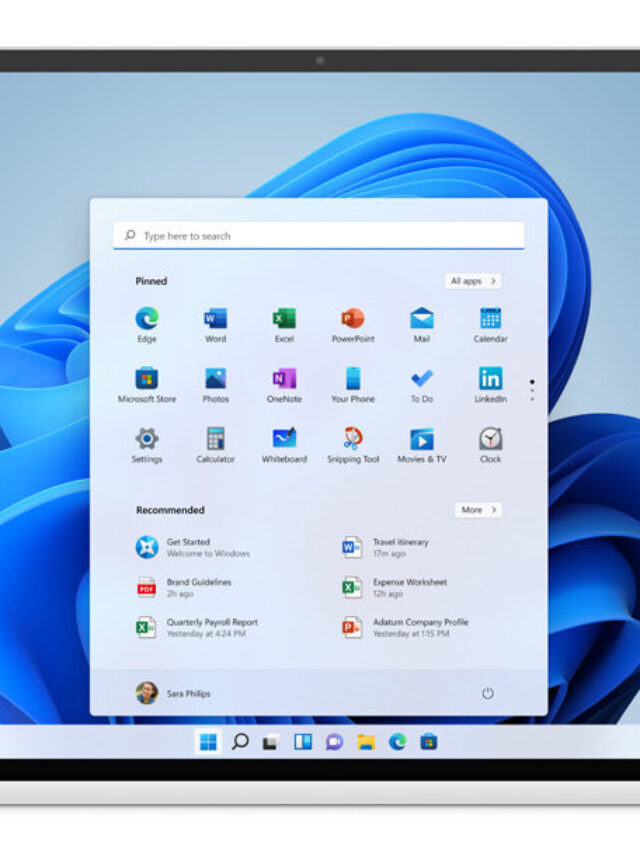
Google has recently added “Circle to Search”, a new feature, to its…

Enter your email address below and subscribe to our newsletter